TeamSpeak3大好きっ!!
Enjoy a completely new experience in voice communication using TeamSpeak 3’s unmatched functionality and powerful new features.
TeamSpeak - Welcome to TeamSpeak
この情報は古いです。 新しい記事を確認してください。
iOS版TeamSpeak3のIdentityの書き換え方法について。
できるかな~wとか思いつつやったら出来たのでメモメモ…
必要なもの
- iOS版 TeamSpeak3
- iFunBox等のツール
- SublimeText等のテキストエディタ
なおこの方法で識別子のバックアップも出来ます。
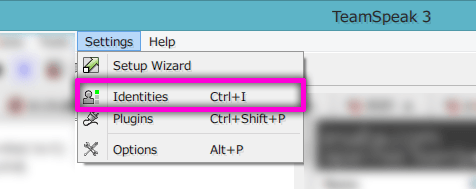
まずはTeamSpeak3を起動し、Settings をクリックし Identities をクリック
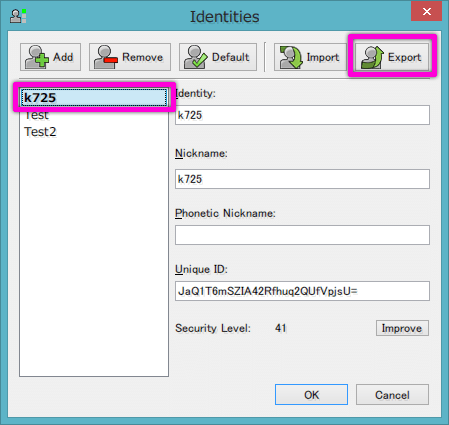
目的の識別子を選び、 Export をクリック
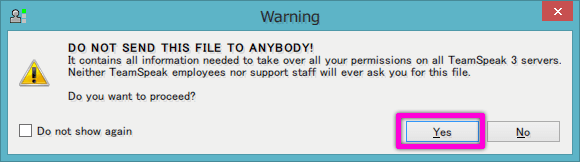
誰にも送信しちゃダメだぜ!! 的なことを言われるので Yes をクリック。
デスクトップ等に一時的に保存します。
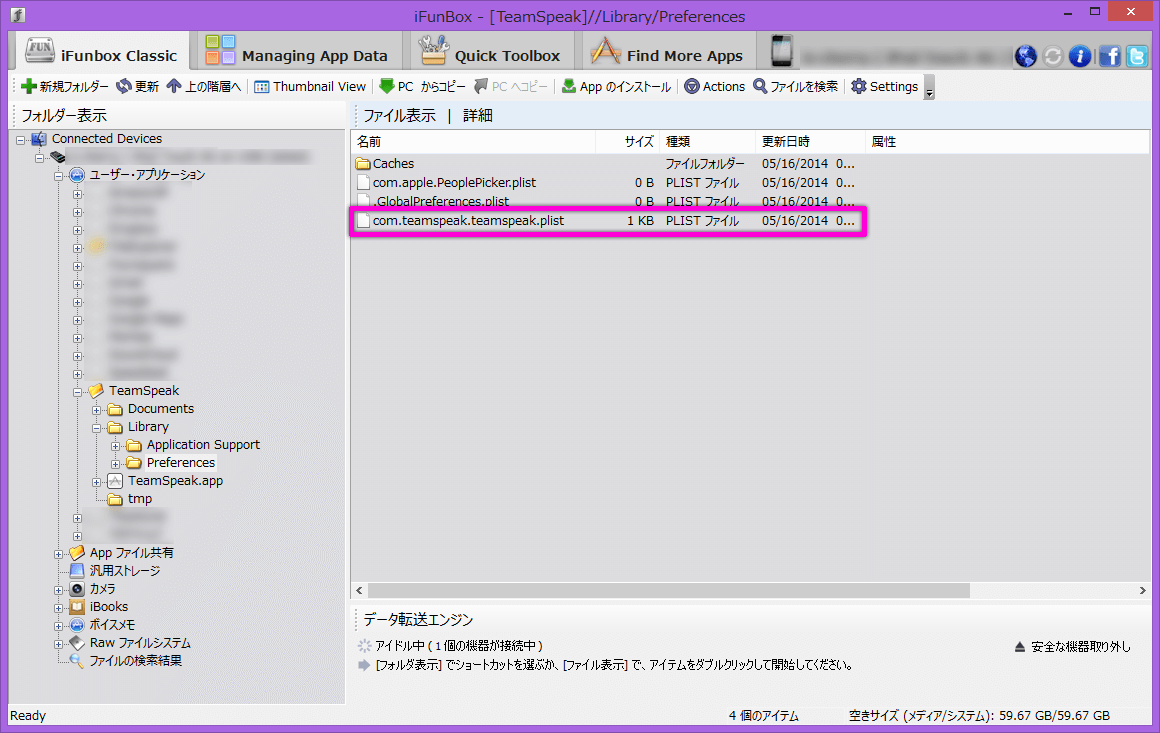
iFunBox等を起動し、iOSデバイスに接続します。
接続したら、 ユーザー・アプリケーション -> TeamSpeak -> Library -> Preference にアクセスし、 com.teamspeak.teamspeak.plist をローカルにコピーし、エディタで開く
開くと UserIdentityList というところがあるので探す。
下の例だと、 <string>***略***</string> になっている部分が識別子。
	<key>UserIdentityList</key>
	<array>
		<dict>
			<key>description</key>
			<string>Default</string>
			<key>identity</key>
			<string>************************</string>
			<key>isDefault</key>
			<true/>
			<key>nickname</key>
			<string>iOS Client</string>
		</dict>
	</array>
先程保存したバックアップを開き、
[Identity]
id=hogefuga
identity="************************"
nickname=hogefuga
"************************" をコピーする。(ダブルクオーテーションは含めず)
plist側に貼り付けられたら保存、iFunBoxで上書きし、iOSデバイスで識別子を確認する。